We inspect cooling fans to guarantee airflow, examine internal components to detect wear, and clean dust to maintain efficiency. These steps are essential in preventing overheating and equipment failure. By methodically checking fan blades for cracks, verifying connections, and listening for unusual sounds, we can catch issues early. But understanding when parts need replacement requires more than just observation—it demands a clear, practical approach. Let’s explore how to do this effectively.
Key Takeaways
- Check fan blades for cracks, chips, warping, or corrosion that impair airflow and cooling efficiency.
- Listen for unusual noises indicating bearing wear or motor degradation during fan operation.
- Use a digital tachometer or software to measure fan speed and ensure it meets specified RPM levels.
- Inspect electrical connections for consistent power delivery and verify thermal paste condition on heat sinks.
- Clean dust buildup from fan blades, vents, and surrounding surfaces to prevent overheating and friction-related wear.
Why Inspect Cooling Fans and Internal Components Regularly
Regularly inspecting cooling fans and internal components is essential to maintaining peak device performance and preventing overheating. By conducting routine checks, we guarantee ideal cooling efficiency, which directly impacts the device’s stability and longevity. Dust accumulation and wear reduce fan performance, leading to inadequate heat dissipation and potential thermal throttling. Fan maintenance involves verifying blade integrity, motor function, and bearing condition to avoid mechanical failure. Additionally, examining internal components helps us identify early signs of degradation or damage that could compromise the cooling system. Consistent inspections allow us to address issues proactively, minimizing downtime and costly repairs. Ultimately, this methodical approach safeguards hardware reliability and sustains efficient thermal management, ensuring the device operates within its designed temperature parameters.
How to Open Your Device Safely for Inspection
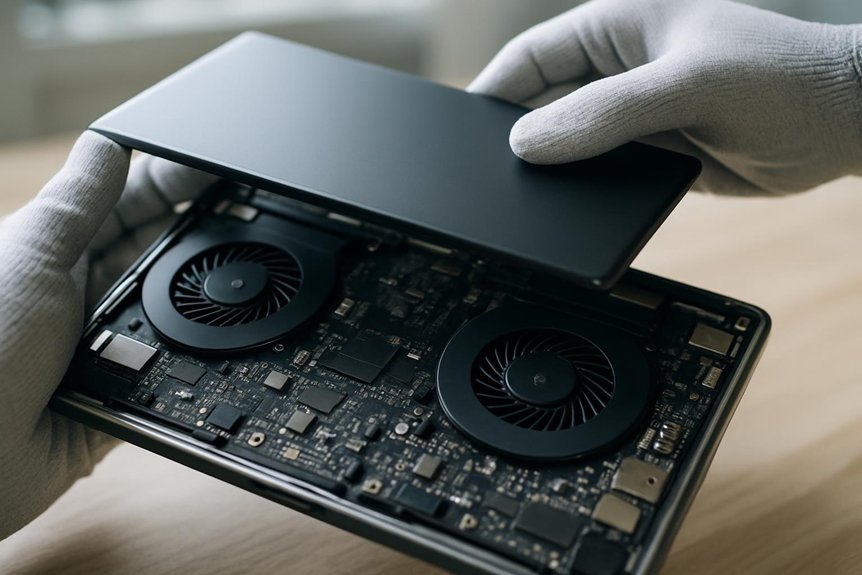
Before opening our device, we need to prepare a clean, static-free workspace to prevent damage to internal components. Next, we’ll carefully remove the device covers using the appropriate tools, ensuring we avoid forcing or damaging any clips or screws. Following these steps methodically will allow us to access the cooling fans and internal parts safely for inspection.
Preparing Your Workspace
To prepare our workspace for inspecting cooling fans and internal components, we need to establish a clean, static-free environment that minimizes the risk of damage. First, clearing clutter guarantees workspace organization, allowing easy access to tools and components. We’ll use an anti-static mat and wrist strap to prevent electrostatic discharge, a critical safety precaution. Proper lighting enhances visibility, reducing the chance of error. We’ll also make sure to provide adequate ventilation to avoid overheating during inspection. All necessary tools should be arranged systematically within reach to maintain workflow efficiency. Before starting, we’ll power down the device completely and disconnect it from any power source, reinforcing safety precautions. By methodically preparing our workspace this way, we create ideal conditions for a safe, effective inspection of internal components.
Removing Device Covers
Having set up a clean, static-free workspace and verified the device is powered down and disconnected, we can now focus on removing the device covers safely. First, we identify the cover types—usually snap-on, screw-secured, or slide-off. Each requires specific removal techniques to avoid damage. For screw-secured covers, we use the appropriate screwdriver, keeping screws organized. Snap-on covers demand gentle prying with a plastic tool to prevent casing deformation. Slide-off covers often require sliding in a designated direction, applying steady pressure. Throughout, we avoid forceful movements and static discharge risks. By methodically following these steps, we expose internal components without compromising device integrity, enabling thorough inspection of cooling fans and related parts.
What to Look For When Checking Cooling Fans
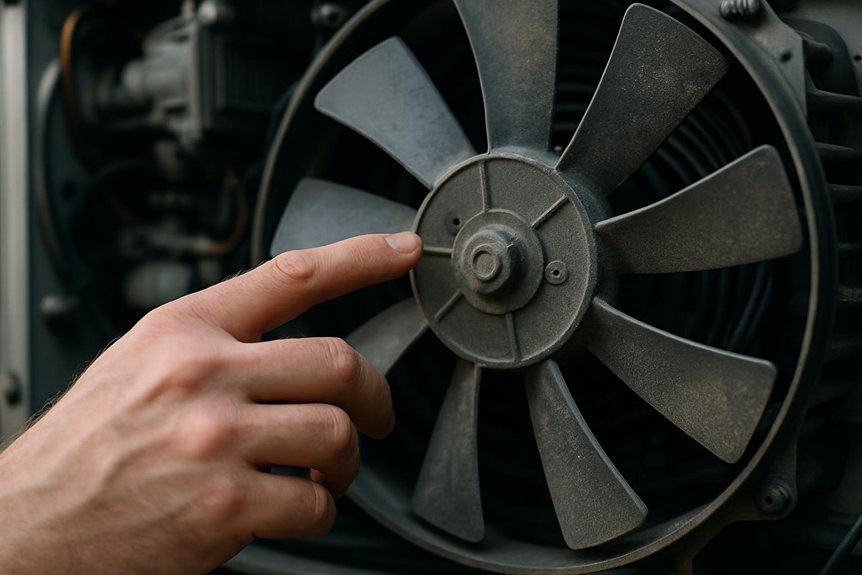
A thorough inspection of cooling fans involves checking for physical damage, unusual noises, and proper rotation. We start by examining each fan blade for cracks or chips that could disrupt airflow direction. Next, we perform vibration analysis to detect imbalances or misalignments affecting performance. Checking electrical connections guarantees consistent power delivery, while confirming component alignment prevents undue stress on the motor. We assess noise reduction by listening for grinding or rattling sounds signaling bearing wear. Suitable lubricant application to the fan’s moving parts reduces friction and extends lifespan. Additionally, we inspect surrounding thermal paste to verify it remains intact, supporting efficient heat transfer. This methodical approach helps maintain effective cooling efficiency and prevents overheating in sensitive components.
Spotting Signs of Wear in Internal Components
Although cooling fans are critical, we must also closely monitor internal components for early signs of wear. Identifying wear indicators such as discoloration, corrosion, or unusual abrasion on circuit boards, connectors, and capacitors is vital to prevent failures. We should methodically inspect solder joints for cracks and verify that all moving parts, like bearings and hinges, operate smoothly without excess play or noise. Monitoring temperature deviations during operation can reveal hidden stress affecting component longevity. By regularly documenting these wear indicators and comparing them over time, we can anticipate potential breakdowns and schedule timely maintenance. This disciplined approach guarantees that internal components remain functional and reliable, ultimately extending the overall lifespan of the system and maintaining peak performance.
Cleaning Dust and Debris From Fans and Vents
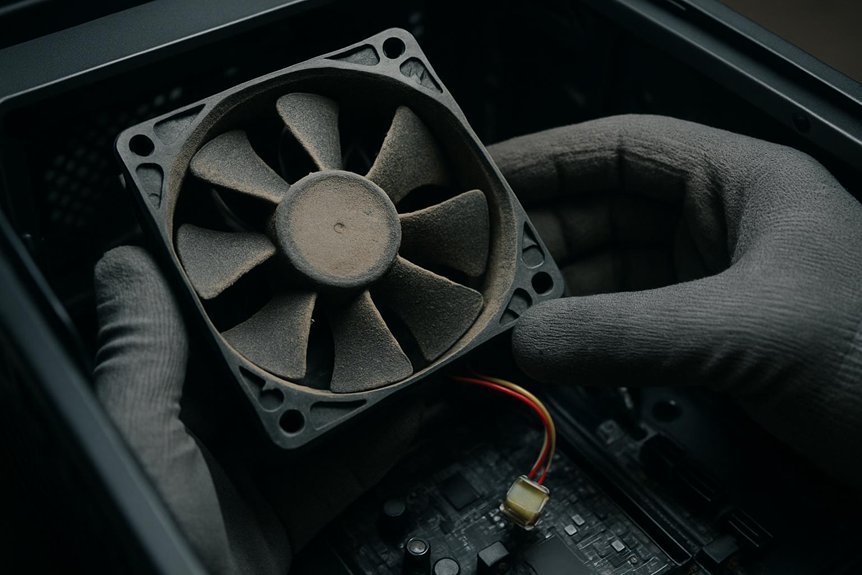
Three key areas demand our attention when cleaning dust and debris from cooling fans and vents: fan blades, vent openings, and surrounding surfaces. Proper fan maintenance hinges on effectively removing buildup to guarantee maximum airflow and prevent overheating.
We should focus on:
- Carefully wiping fan blades with a soft brush or compressed air to dislodge accumulated dust.
- Clearing vent openings using a vacuum or brush to maintain unobstructed air intake and exhaust.
- Cleaning adjacent surfaces inside the chassis to minimize recirculation of dust particles.
Consistent dust prevention through routine cleaning reduces wear and extends component lifespan. By methodically targeting these areas, we maintain efficient cooling performance and safeguard internal components from dust-induced damage.
Testing Fan Performance and Noise Levels
Now that we’ve cleaned the fans and vents, let’s focus on testing their performance. We’ll measure fan speed using a tachometer or software tools to guarantee they operate within specified RPM ranges. Additionally, we’ll listen carefully for unusual noises that could indicate bearing wear or imbalance.
Measuring Fan Speed
Measuring fan speed provides critical insight into a cooling system’s efficiency and noise output. Accurate fan speed measurement helps us determine if a fan operates within its specified RPM range, ensuring ideal airflow and minimizing wear. RPM analysis allows us to detect deviations that could indicate mechanical issues or dust accumulation.
To measure fan speed effectively, we can:
- Use a tachometer or optical sensor to capture real-time RPM data.
- Compare measured RPM against manufacturer specifications for performance verification.
- Monitor fan speed under different load conditions to assess consistency and reliability.
Identifying Unusual Noises
Detecting unusual noises is an essential step in evaluating fan performance and overall system health. We begin by isolating noise sources to determine if sounds stem from fan vibrations, bearing wear, or blade imbalance. Using a stethoscope or electronic noise meter, we scan each fan meticulously while the system operates under typical load. Fan vibrations often produce a rhythmic or oscillating sound, signaling mechanical issues. We listen for grinding, rattling, or high-pitched whines, which may indicate lubrication failure or debris interference. It’s important to differentiate between normal operational hum and anomalous noises by comparing readings with baseline measurements. Identifying these irregularities early enables targeted maintenance, preventing further damage and ensuring cooling efficiency. Systematic noise analysis therefore enhances reliability and prolongs component lifespan.
When to Replace Cooling Fans and Parts
Although cooling fans and internal components often operate reliably for extended periods, we need to replace them once they show signs of decreased performance, physical damage, or unusual noise. Monitoring the fan lifespan is critical to anticipate replacement before failure disrupts operation. Key replacement indicators include:
- Noticeable reduction in airflow or cooling efficiency, signaling motor wear or blade damage.
- Visible cracks, warping, or corrosion on fan blades or housing compromising structural integrity.
- Persistent abnormal noises despite cleaning and lubrication, indicating bearing or motor failure.
Tools You Need for Effective Inspection and Maintenance
To conduct an effective inspection and maintenance of cooling fans, we need a specific set of tools designed for accuracy and safety. Our essential inspection tools include screwdrivers, multimeters, and cleaning brushes, while the maintenance equipment checklist covers lubricants and replacement parts. Having these items prepared guarantees we can identify issues promptly and perform repairs efficiently.
Essential Inspection Tools
Before we begin inspecting cooling fans and internal components, it’s vital to assemble the right tools to guarantee accuracy and safety throughout the process. Proper inspection techniques rely on precise instruments to assess fan efficiency and detect wear effectively.
Here are the three vital tools we need:
- Digital Tachometer – Measures fan rotational speed, essential for evaluating fan efficiency and identifying performance degradation.
- Inspection Mirror with LED Light – Provides visibility into hard-to-reach internal areas, enabling thorough examination of components without disassembly.
- Multimeter – Checks electrical continuity and voltage levels to verify internal components function within specified parameters.
Using these tools methodically enhances our ability to detect early signs of wear, facilitating timely maintenance and ideal cooling system performance.
Maintenance Equipment Checklist
We need a focused set of maintenance equipment to perform effective inspections and upkeep on cooling fans and internal components. Our checklist must include a calibrated tachometer to verify fan speed across various fan types, ensuring they operate within specified parameters. A digital multimeter is essential for testing electrical continuity and voltage stability. Inspection mirrors and borescopes allow us to examine hard-to-reach internal parts without disassembly. Precision screwdrivers and torque wrenches are necessary for safe removal and reassembly, respecting manufacturer torque specifications. We also require cleaning tools like lint-free cloths and compressed air to remove dust buildup. Finally, a maintenance logbook helps track inspection dates and maintenance frequency, promoting consistent upkeep. This streamlined toolkit guarantees thorough, repeatable inspections and prolongs equipment lifespan.
Preventing Overheating Through Proper Fan Care
Although many users overlook fan maintenance, proper care is essential to prevent overheating and guarantee peak device performance. Ensuring maximum fan efficiency directly supports effective thermal management, reducing the risk of component failure. To maintain fans properly, we should:
Proper fan maintenance is vital to prevent overheating and ensure optimal device performance.
- Regularly clean fan blades and vents to remove dust and debris that impede airflow and reduce cooling capacity.
- Inspect fan bearings and motor function for signs of wear or unusual noise, which can signal declining performance.
- Verify that fans operate at specified RPMs to maintain consistent airflow and prevent hotspots within the system.
Tips for Extending the Lifespan of Internal Components
Since internal components endure constant thermal and mechanical stress, adopting targeted strategies can considerably extend their operational lifespan. To maximize fan longevity strategies, we must regularly clean dust buildup and guarantee proper lubrication of bearings, preventing friction-related wear. Monitoring fan speeds and replacing degraded fans before failure is critical. Alongside fan care, component maintenance techniques involve maintaining stable operating temperatures through efficient airflow management and thermal paste replacement on CPUs and GPUs. We should also conduct routine inspections for physical damage or corrosion, tightening loose connectors and securing cables to avoid mechanical strain. Implementing proactive maintenance schedules and using diagnostic tools to track performance metrics allow us to identify early signs of degradation. Together, these precise measures optimize system reliability and prolong the functional life of internal components.
Frequently Asked Questions
Can Faulty Cooling Fans Affect My Device’s Warranty?
Yes, faulty cooling fans can have warranty implications. If a fan malfunction causes damage, manufacturers might void coverage. We recommend promptly addressing fan issues to guarantee your device remains protected under warranty terms.
How Often Should I Schedule Professional Fan Inspections?
Like clockwork, we recommend scheduling professional fan inspections every six months to guarantee peak performance. Following these fan maintenance tips helps maintain inspection frequency, preventing wear and overheating, keeping your device running smoothly and reliably over time.
Are There Specific Brands Known for Durable Cooling Fans?
We’ve found that brands like Noctua and Corsair excel in fan performance through rigorous brand comparisons. Their durable cooling fans consistently deliver reliable airflow and longevity, making them top choices for demanding technical applications.
Can Software Updates Improve Fan Performance?
Yes, software updates can enhance fan optimization techniques by refining control algorithms. However, we must carefully address software compatibility issues to guarantee seamless integration and avoid performance degradation or hardware conflicts during the update process.
What Are the Risks of Using Third-Party Replacement Fans?
We risk fan compatibility issues and inconsistent cooling efficiency when using third-party replacement fans. Performance comparison often reveals reduced reliability or noise differences, so we recommend verifying specifications carefully to avoid hardware damage or overheating problems.
Conclusion
By regularly inspecting cooling fans and internal components, we keep our devices running like a well-oiled machine. Catching signs of wear early prevents overheating and costly failures, ensuring smooth airflow and electrical integrity. Let’s make maintenance a habit—clean fans, check connections, and replace parts before they fail. With the right tools and methodical care, we can extend our device’s lifespan and avoid surprises, turning maintenance from a chore into a powerful shield against downtime.

